How to Make a Certificate Template in Google Slides (Free, 2026)
Google Slides is the best free tool for building a certificate template, because the same file can later fill itself in automatically. In about 15 minutes you can set the right page size, lay out a clean professional design, and add text placeholders like {{name}} and {{date}}. Connect that template to a Google Form with the CertifyAll add-on, and every certificate from then on is generated, personalized, and emailed without you touching it. Here's the full walkthrough, including the design decisions that separate professional certificates from homemade-looking ones.
Step 1: Set the page size (don't skip this)
A new Google Slides presentation defaults to 16:9 widescreen — a video shape, not a paper shape. If anyone will ever print your certificate, change it first, because resizing later breaks your layout:
- Open File → Page setup. Choose Custom from the dropdown.
- Enter a paper size in landscape. 11.7 × 8.3 inches for A4, or 11 × 8.5 inches for US Letter. Pick whichever your audience prints on.
- Delete the default text boxes. Start from a truly blank canvas.
Digital-only certificates can stay 16:9 — they look great on screens and in email — but the paper sizes look equally good digitally and survive printing, so they're the safer default.
Step 2: The layout that always works
Nearly every credible certificate — university diplomas included — follows the same vertical rhythm. Top to bottom:
- Border. A simple rectangle outline inset about 0.3" from the edge, 2–3pt, in your primary color. (Insert → Shape → Rectangle, fill: transparent.) A thin inner second line at 1pt adds the classic double-border effect.
- Logo, top center. Your school or company mark, modest size — it's a stamp of authority, not a billboard.
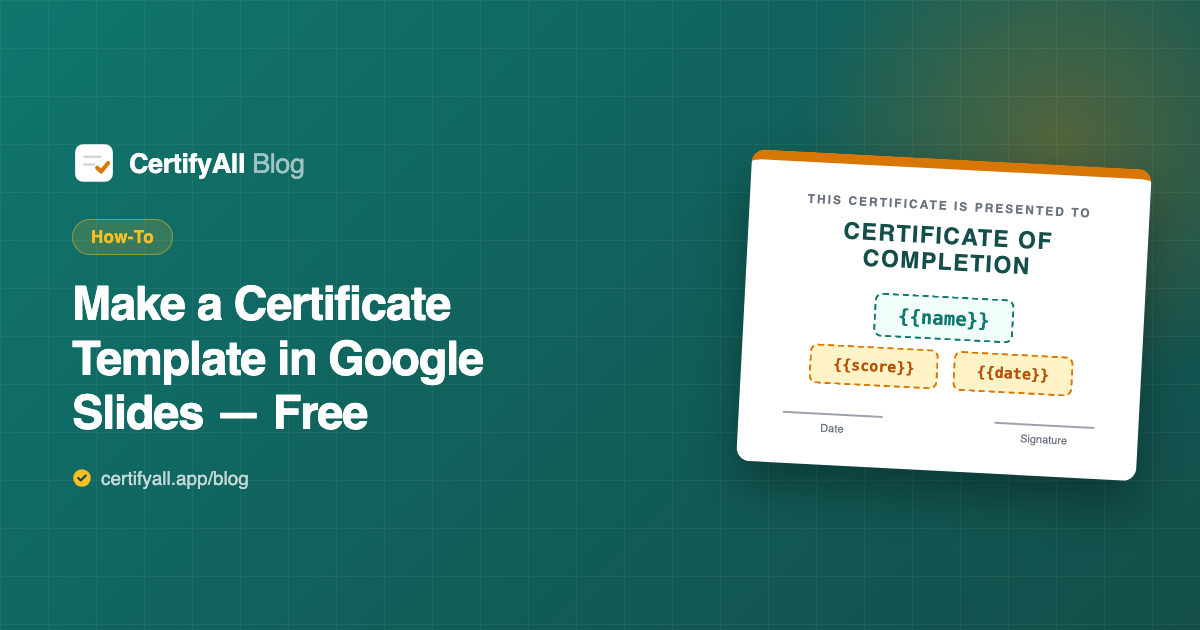
- Title. "Certificate of Completion" / "of Achievement" / "of Excellence" — large, letter-spaced, all caps works well.
- Presentation line. Small text: "This certificate is proudly presented to".
- The name. The hero of the document — biggest text on the page, centered, ideally in your display font. This is where
{{name}}goes. - Achievement line. What they did: "for successfully completing" followed by the course name (
{{form_title}}if you want it automatic). - Bottom row. Date on the left (
{{date}}), signature on the right — a signature image or a script font above a thin line, with the signer's name and role beneath.
Optional extras that add weight: a seal or badge shape in a bottom corner, a subtle background tint, or a quiz score line (Scored {{score}}/{{total}} — {{percentage}}) for graded courses.
Step 3: Fonts and colors (two of each, maximum)
Font pairing is where most homemade certificates fall apart. The rule: one display font, one workhorse font, nothing else. Proven pairs from Google Slides' built-in font menu:
| Style | Title & name | Everything else |
|---|---|---|
| Classic / academic | Playfair Display | Source Sans Pro |
| Modern / corporate | Montserrat | Inter |
| Elegant / event | Cormorant Garamond | Lato |
Colors: your brand color for the border and title, near-black (#1F2937 reads softer than pure black) for text, and at most one accent — gold (#B45309) remains the classic certificate accent for a reason. Three colors total, including the text.
Step 4: Add the placeholders
Placeholders are what turn a design into a template. Type them as plain text exactly where the real value should appear, styled exactly how the real value should look:
| Placeholder | Filled with |
|---|---|
{{name}} | Recipient's name (mapped to your name question) |
{{date}} | Certificate issue date |
{{score}} / {{total}} / {{percentage}} | Quiz results from the actual submission |
{{form_title}} | Your form's title — lets one template serve many courses |
{{email}} / {{timestamp}} | Respondent email / exact submission time |
{{anything}} | Any custom field, mapped to any form question (e.g. {{company}}) |
Two practical tips: make the {{name}} text box wider than you think — "Alexandra Konstantinopoulos" needs room "Ana Li" doesn't — and keep each placeholder in a single text run (don't half-bold it), so the replacement inherits one clean style.
Step 5: Make it fill itself in from Google Forms
A template you fill in by hand still costs you minutes per certificate. The same file becomes fully automatic in one connection:
- Install CertifyAll from the Google Workspace Marketplace — it's the certificate add-on for Google Forms.
- Open your form, launch CertifyAll, paste the Slides URL. The add-on detects your placeholders automatically.
- Map and activate. Match
{{name}}to the right question, optionally set a quiz passing score, and turn it on.
Every submission now generates a personalized PDF from your design, emails it to the respondent, and archives a copy in a CertifyAll Certificates folder in Google Drive. If your form is a quiz, only students above your passing threshold get one — the full workflow is in our quiz certificate guide.
5 mistakes that make certificates look cheap
- Too many fonts. Three or more fonts reads as a flyer, not a credential. Two, used consistently.
- WordArt-style effects. Shadows, glows, and gradient text are instant credibility killers. Flat color, clean lines.
- A tiny name. The recipient's name should be the largest element after (or including) the title. It's the whole point of the document.
- Stretched logos and seals. Hold Shift while resizing, always. A squashed logo undermines everything else.
- Pure black on pure white with no breathing room. Use near-black text, generous margins, and let the border frame empty space — sparseness is what reads as "official."
Frequently asked questions
Does Google Slides have certificate templates?
There's no dedicated certificate category in the built-in template gallery, but Slides is one of the best free tools for designing your own: set a landscape page size, add a border, title, name line, and signature, and you have a reusable template. Add placeholders like {{name}} and it can fill itself in automatically from Google Forms via CertifyAll.
What size should a certificate be in Google Slides?
File → Page setup → Custom: 11.7 × 8.3 inches (A4 landscape) or 11 × 8.5 inches (US Letter landscape). Both print perfectly and export cleanly to PDF. The default 16:9 works for digital-only certificates but prints with white bars.
How do placeholders work in a certificate template?
A placeholder is plain text in double curly braces — {{name}} — typed anywhere in your template. When a certificate is generated, CertifyAll replaces it with the real value from the Google Forms submission while keeping your fonts and styling exactly as designed.
Can I use my own logo and branding?
Yes — the template is a normal Google Slides presentation, so you control every pixel: logos, brand colors, signatures, seals, background images. CertifyAll generates the PDF from your design without altering it.
How do I turn the certificate into a PDF automatically?
Connect the template to a Google Form with CertifyAll: paste the Slides URL, map the placeholders, turn it on. Each submission generates a personalized PDF and emails it to the respondent — no manual File → Download.
Is making certificates in Google Slides free?
Yes. Google Slides is free with any Google account, and CertifyAll's free plan automates up to 20 certificates per month from your template, with email delivery and Drive backup included. Pro ($5.99/month) removes the watermark and the limit.